- Phil
- September 11, 2025
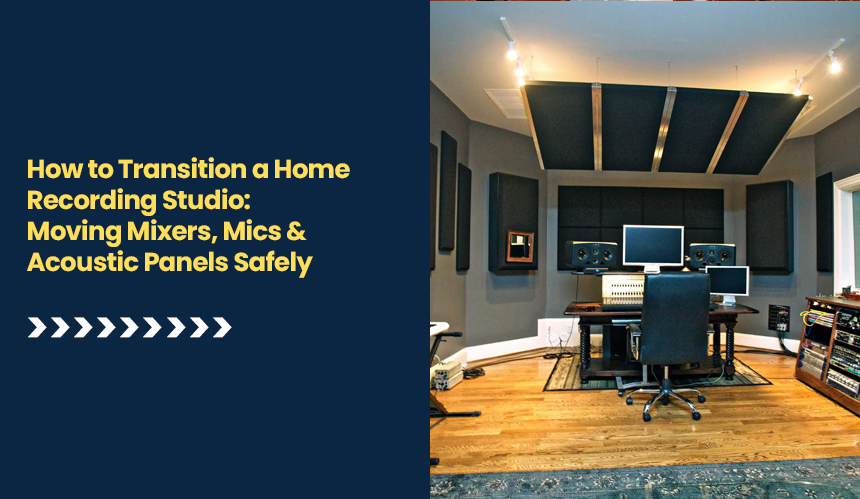
How to Transition a Home Recording Studio: Moving Mixers, Mics & Acoustic Panels Safely
Moving a home recording studio can be a daunting task, but with the right approach, it can be done smoothly and without compromising the integrity of your equipment or sound quality.
The key to a successful transition lies in careful planning, the right packing techniques, and setting up your gear in the new space with precision. In this guide, we’ll walk you through the critical steps to ensure your home recording studio transition is safe.
How to Prepare Your Studio for the Move? Essential Steps for a Smooth Transition
Before you dive into the physical task of moving your home recording studio, it’s crucial to take the necessary steps to ensure everything is well-prepared for the journey.
The preparation phase is where you set yourself up for a smooth and safe move, ensuring your gear remains intact and functional in the new space. This involves organizing, packing, and protecting your valuable equipment.
What Should Be Included in a Pre-Move Checklist When Moving Your Studio?
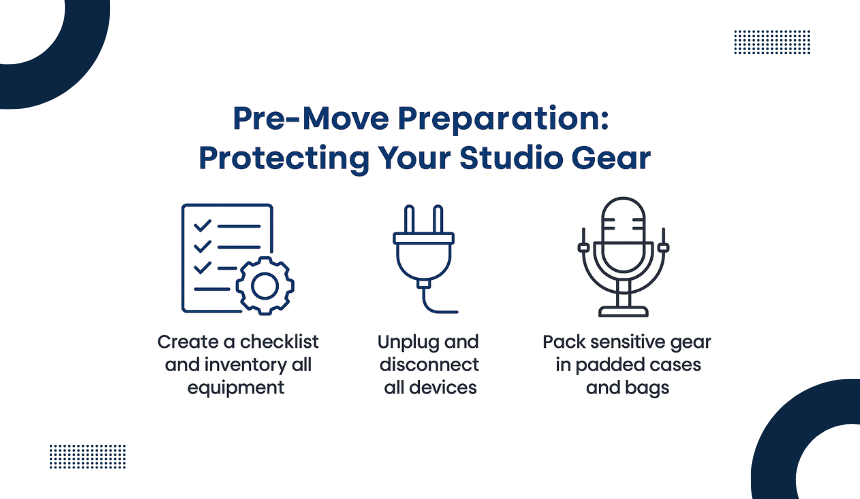
The first step in preparing for your move is to create a comprehensive checklist. This will help ensure you don’t miss any critical steps. Begin by taking inventory of all your equipment. List everything from microphones and audio interfaces to mixers and acoustic panels.
Ensure each item is unplugged, powered down, and disconnected before packing. Any electronics, particularly audio interfaces or mixers, should be properly shut down to avoid any potential damage during transport.
What Packing Material Should Be Used For Packing Studio Equipment?
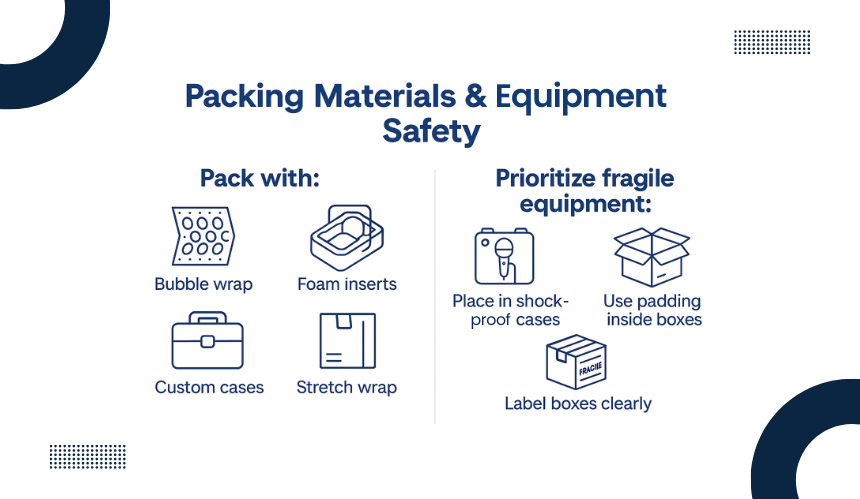
To ensure your studio equipment is well-protected during the move, use the following packing materials:
Bubble Wrap
Foam Inserts
Custom Equipment Cases
Packing Peanuts or Foam Padding
Stretch or Shrink Wrap
Heavy-Duty Cardboard Boxes
These materials help protect your gear from impact, moisture, and shifting during transport.
How Can You Protect Sensitive Equipment During the Move?
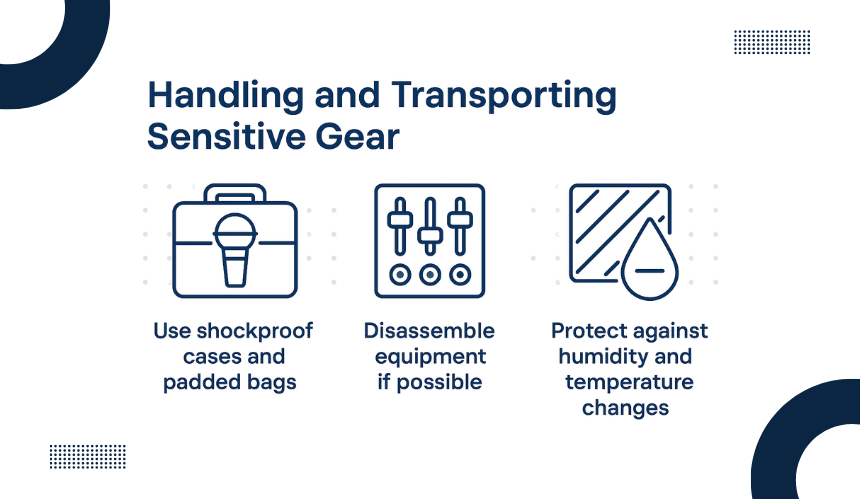
Moving sensitive audio equipment requires extra care. Mics, in particular, are prone to damage due to their delicate internal components. Invest in shockproof carrying cases and padded bags for fragile items.
Consider using moisture-absorbing materials to protect against potential humidity or temperature changes during the move. If you can, disassemble larger gear like your mixer or audio interface before moving it. For example, remove any detachable cables or accessories to avoid tangling and potential damage.
A trusted residential moving company that specializes in handling delicate audio equipment can handle the heavy lifting for you. Professional movers offer the expertise and proper tools to ensure your sensitive equipment arrives at your new studio in perfect condition.
How Should You Pack Acoustic Panels and Mics for the Move?
Acoustic panels and microphones require extra attention due to their fragility. Microphones should be packed in their original boxes if available, or in foam-padded cases to avoid any jarring movement.
For acoustic panels, stack them carefully and use foam covers or bubble wrap to protect the surface. Be sure to label your boxes clearly so you know which items require special handling.
This is also the time to check the condition of your gear. Give everything a quick inspection for any potential issues before the move, ensuring that any necessary repairs or adjustments are taken care of in advance.
By the time you finish these preparations, your equipment will be well-organized and ready for a smooth move. Taking these steps early on will ensure that you avoid any last-minute stress and reduce the chances of damage, allowing for an easier transition into your new setup.
Reassembling Your Gear in the New Studio: How to Set Up and Test Your Equipment
Once your studio equipment has safely arrived at the new location, the next crucial step is reassembling and setting up your gear. Proper reassembly is key to ensuring your studio performs as it should, maintaining both functionality and sound quality. Here’s how to get your gear back in action.
How Should You Reassemble Your Studio Equipment After the Move?
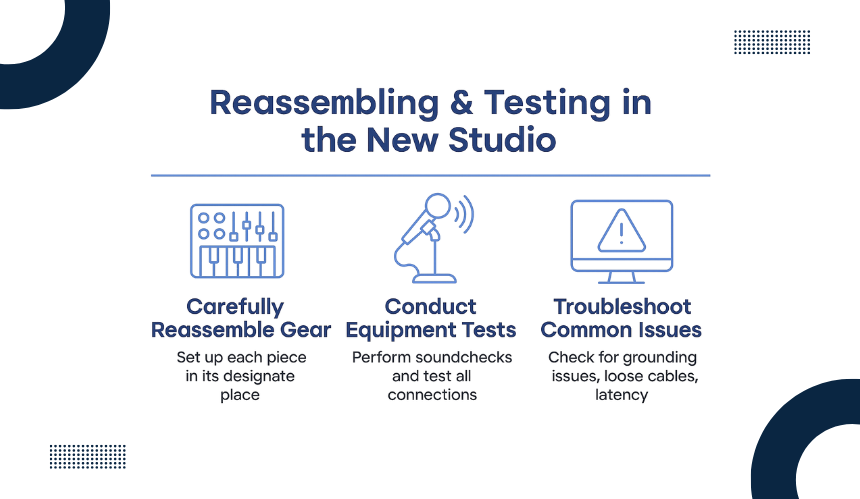
Start by carefully unpacking each piece of equipment and placing it in its designated area. Begin with larger items like your mixer, audio interface, or keyboard, ensuring they are connected to power sources properly. For microphones and mic stands, double-check that they’re securely placed and that cables are connected correctly.
To avoid any potential damage or tangled wires, use cable ties or cable organizers to neatly arrange all connections. This not only helps keep your new studio space tidy but also reduces the chances of damage from pinched cables or accidental yanking.
How to Test the Studio Equipment After Reassembly?
Once your gear is set up, it’s time to test everything to ensure it’s functioning properly. Begin by performing a basic soundcheck for each microphone, checking for any distortion, feedback, or connectivity issues.
Run a test signal through your mixing console and ensure all channels are operating correctly, adjusting input levels and EQ settings as needed. If possible, test with multiple types of audio sources to ensure your system is working across different devices.
Don’t forget to check the acoustic treatment. After reinstalling your acoustic panels, take the time to listen carefully in different areas of the room to ensure the sound quality is balanced. You may need to make slight adjustments to panel placement to achieve the best acoustic performance for your new space.
Troubleshooting Common Issues After a Move
It’s not uncommon to run into minor issues when reassembling your studio. Some of the most frequent challenges include:
- Grounding issues: Electrical interference can cause unwanted noise, which may be fixed by using ground loop isolators or adjusting the placement of equipment.
- Loose connections: Double-check that all cables are securely plugged in, as even a slight connection issue can affect performance.
- Latency or signal delay: If you’re experiencing delays when recording or mixing, check your audio interface settings or update any relevant drivers.
Testing your gear thoroughly and troubleshooting any issues will help ensure your home recording studio is ready for use without any unpleasant surprises.
Looking for a stress-free way to move your studio equipment? Let A Great Moving Crew take care of the heavy lifting! With expertise in handling delicate audio gear, you can rest easy knowing your equipment is in safe hands.
How to Maintain Your Studio Gear After the Move: Cleaning and Long-Term Care
Once your home recording studio is successfully transitioned and reassembled, it’s important to consider the long-term maintenance of your equipment.
Proper cleaning and maintenance practices will not only extend the lifespan of your gear but also ensure that your studio remains in top condition for optimal performance.
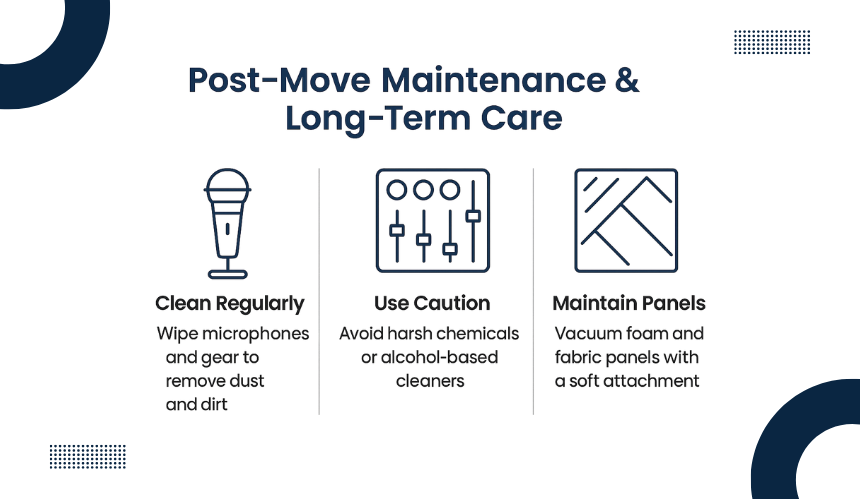
What Are the Best Practices for Cleaning Your Audio Equipment?
Regular cleaning is essential to prevent dust, dirt, and grime from accumulating on your microphones, mixers, and other equipment.
For Microphones
- Gently wipe the exterior with a soft, lint-free cloth to remove dust.
- Avoid harsh chemicals that could damage the mesh or diaphragm.
- If heavily soiled, use a small amount of mild soap and water, and dry thoroughly.
For Mixers and Audio Interfaces
- Use compressed air to blow out dust from hard-to-reach areas like knobs, buttons, and ports.
- Wipe surfaces with a microfiber cloth to prevent scratches.
- Avoid cleaning agents with alcohol or ammonia, as these can damage the finish and internal components.
For Acoustic Panels
- Clean regularly with a vacuum with a soft brush attachment or a damp cloth for foam or fabric-wrapped panels.
- Avoid using a heavy-duty vacuum as it can damage the delicate foam material.
Frequently Asked Questions
How do I move my home recording studio without damaging my gear?
Moving a home recording studio requires careful planning and the right materials. Use padded cases, bubble wrap, and custom equipment cases to protect delicate items. Consider hiring professional movers who specialize in transporting audio equipment to ensure everything is handled with care.
Can I move my recording studio on my own, or should I hire professionals?
While it’s possible to move your studio yourself, hiring professionals can help mitigate the risks of damage. They have experience with delicate audio gear and the right equipment to safely transport your items. This reduces stress and saves time, allowing you to focus on the setup.
How do I ensure my acoustic panels are reinstalled correctly after a move?
After moving your acoustic panels, take the time to assess the new room’s acoustics before reinstalling. Experiment with panel placement to ensure optimal sound quality. Use adhesive strips or mounting hardware designed for your specific type of panel to secure them properly.
What’s the best way to store studio equipment during long-term storage?
For long-term storage, keep your equipment in a climate-controlled environment to prevent moisture or temperature damage. Use sealed containers or hard cases for microphones and interfaces, and wrap your acoustic panels in protective covers. Avoid storing gear directly on the floor, as it may be exposed to dust or humidity.
How can I prevent electrical issues when setting up my studio in a new space?
To prevent electrical problems, ensure your new studio has proper grounding and enough outlets to accommodate all your equipment. Use surge protectors to protect against voltage spikes and invest in ground loop isolators for audio equipment to reduce hum or interference. Check the electrical capacity of your new space to avoid overloading circuits.
Should I update my home studio gear after moving to a new space?
Moving to a new space is a great time to evaluate your studio setup. You may want to upgrade certain gear, such as upgrading your audio interface for better sound quality or enhancing your acoustic treatment for improved sound isolation. Evaluate the new room’s acoustics and consider investing in upgrades that match the space’s potential.
What are the eco-friendly packing options packing home studio equipment?
Eco-friendly packing options include biodegradable packing peanuts, recycled bubble wrap, and reusable fabric covers for sensitive equipment. You can also use corrugated cardboard boxes made from recycled materials. These sustainable alternatives help reduce waste during the move while ensuring your gear stays protected.
How do I avoid damaging my cables during the move?
To protect your cables, coil them neatly and secure them with velcro ties to prevent tangling or kinks. Use cable organizers to keep them in place and pack them in sturdy boxes to avoid sharp bends or pressure. Label the cables so they are easy to reconnect at your new studio.